 Save to Pinterest
 The afternoon sun hit my kitchen counter just right as I measured out the hojicha leaves, their roasted, earthy scent already filling the room. I had spent weeks experimenting with different tea-infused desserts after a friend brought back authentic hojicha from Tokyo, but something about the warmth of this roasted green tea felt meant for buttercream. When I finally pulled that first cake from the oven, the kitchen smelled like a cozy Japanese café in autumn.
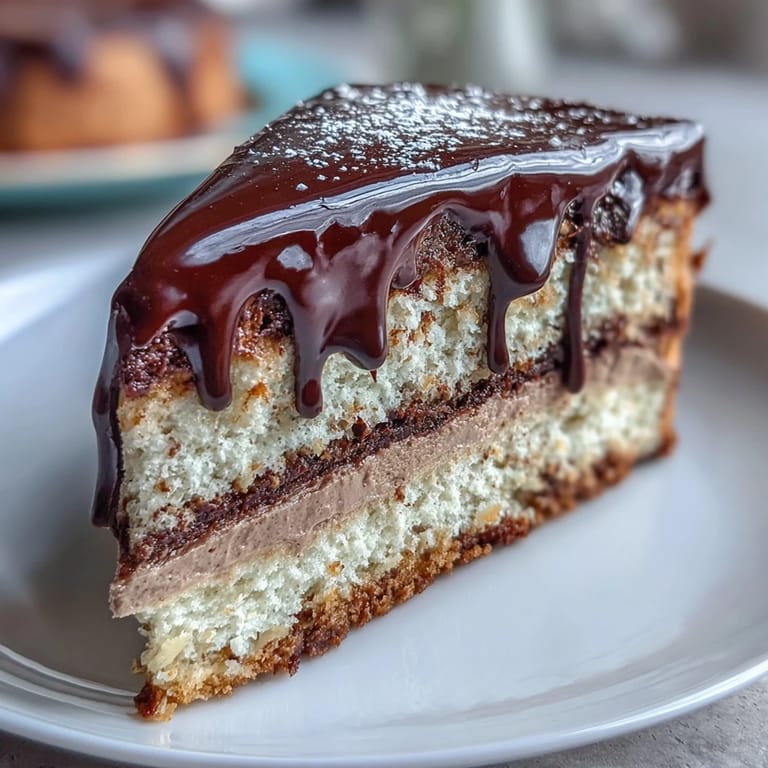
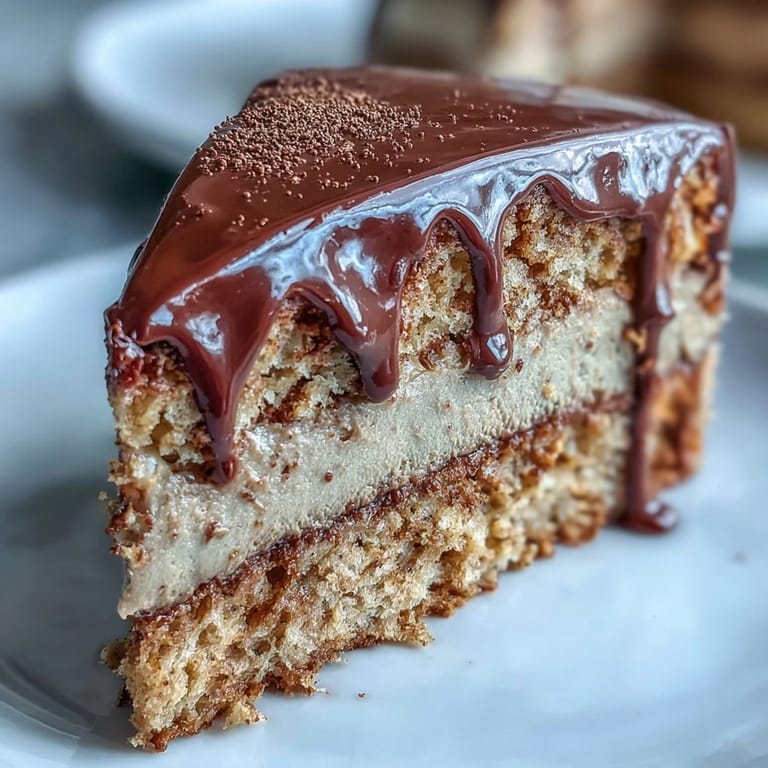
My sister visited last winter and we spent an entire Sunday perfecting the ganache pour, laughing as chocolate dripped onto the countertop and trying to save every drop with spatulas. That cake disappeared in minutes at a small dinner gathering, and I knew this recipe had earned a permanent spot in my collection. There is something magical about how the roasted tea flavor blooms against the dark chocolate.
Ingredients
- Cake flour (120 g): Lower protein content keeps the sponge tender and light, essential for supporting those rich layers without becoming dense
- Room temperature eggs: This small detail makes a dramatic difference in achieving maximum volume during beating, creating that airy crumb structure
- Hojicha loose leaf tea (3 tbsp): The roasted, nutty character of this Japanese green tea is the star ingredient, so invest in quality leaves
- Whole milk (100 ml): Full fat milk carries the tea flavor better into the buttercream, creating a more pronounced taste
- Dark chocolate (100 g): Choose 60–70% cocoa for the perfect balance of bitterness against the creamy buttercream layers
- Heavy cream (80 ml): Creates a silky, pourable ganache that sets beautifully while remaining luxurious on the palate
Tired of Takeout? 🥡
Get 10 meals you can make faster than delivery arrives. Seriously.
One email. No spam. Unsubscribe anytime.
Instructions
- Prepare your cake pans:
- Preheat oven to 175°C (350°F) and line the bottoms of two 18 cm round cake pans with parchment paper, leaving the sides ungreased for proper climbing.
- Whip the eggs and sugar:
- Beat eggs and granulated sugar on high speed for 5–7 minutes until the mixture is thick, pale, and forms a ribbon that holds its shape when the beaters are lifted.
- Fold in the dry ingredients:
- Gently sift in the cake flour and salt in three separate additions, folding with a rubber spatula until just incorporated to maintain all that precious air.
- Temper the mixture:
- Whisk together milk, melted butter, and vanilla, then stir a few spoonfuls of batter into this mixture before folding everything back into the main bowl.
- Bake the sponge layers:
- Divide batter evenly between pans and bake for 20–22 minutes until a skewer comes out clean, then cool in pans for 10 minutes before turning onto a wire rack.
- Infuse the hojicha milk:
- Heat milk until just below boiling, add hojicha leaves, and steep for 10 minutes before straining and cooling completely.
- Make the buttercream:
- Beat butter, powdered sugar, and salt until fluffy, then gradually incorporate the cooled hojicha milk until smooth and creamy.
- Prepare the ganache:
- Heat cream until steaming, pour over chopped chocolate, let sit for 2 minutes, then stir until glossy and cool to room temperature.
- Assemble the cake:
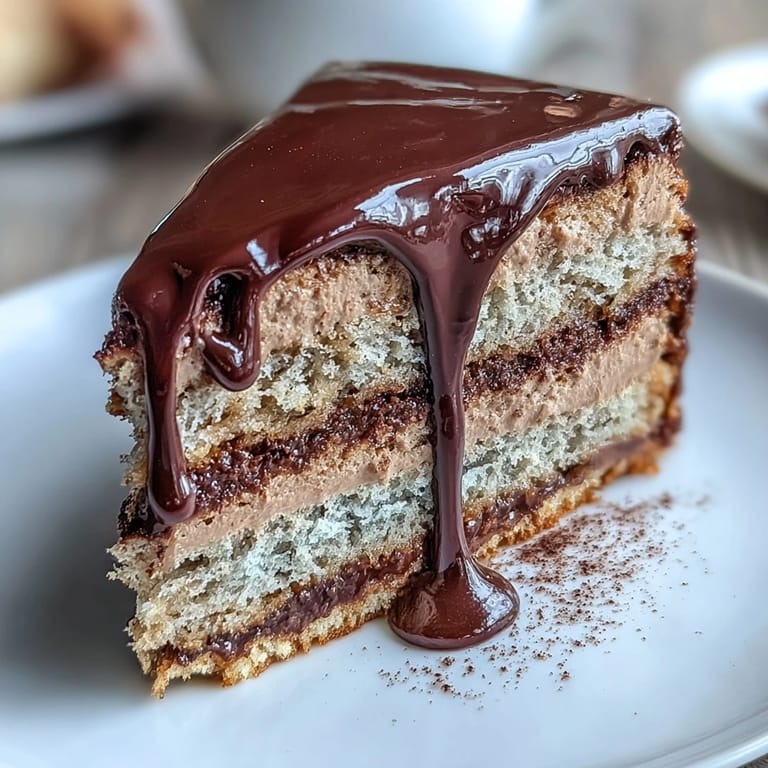
- Spread half the buttercream on the first cake layer, top with the second cake, frost the outside with remaining buttercream, then pour ganache over the top letting it drip naturally.
 Save to Pinterest
 Watching guests take that first bite, eyes widening at the unexpected interplay of roasted tea and dark chocolate, has become one of my favorite kitchen moments. This cake has a way of turning ordinary afternoons into something special.
Working With Hojicha
The intensity of hojicha varies dramatically between brands, so I always taste my infused milk before incorporating it into the buttercream. If the flavor seems subtle, steep the tea for an additional 5 minutes or add another teaspoon of leaves to the milk while heating.
Achieving The Perfect Drip
Temperature is everything when pouring ganache. Too warm and it slides right off the cake, too cool and it clumps unevenly. I let mine sit at room temperature until it flows slowly like honey before pouring over the chilled, frosted cake.
Make Ahead Strategy
This cake actually improves after a night in the refrigerator, allowing the hojicha flavor to deepen throughout the buttercream. The texture remains remarkably fresh if wrapped well, making it an excellent choice for entertaining.
- Wrap the assembled cake tightly and refrigerate for up to 2 days before serving
- Bring the cake to room temperature for 30 minutes before slicing for the best texture and flavor
- Individual slices freeze beautifully if you ever have leftovers
 Save to Pinterest
 Every time I serve this cake, someone asks for the recipe, and I am always happy to share the magic of hojicha with new friends.
Recipe Questions & Answers
- → What does hojicha taste like?
Hojicha is a roasted Japanese green tea with a distinctive warm, nutty flavor profile. The roasting process reduces bitterness and creates notes of toffee, caramel, and subtle earthiness. It's less astringent than other green teas, making it perfect for infusing into buttercream where it adds depth without overwhelming the palate.
- → Can I make this cake in advance?
Yes, this dessert benefits from chilling. You can bake the sponge layers up to two days ahead and store them wrapped at room temperature. The buttercream and ganache can be prepared a day in advance and refrigerated. Assemble the cake on the day you plan to serve it, allowing at least 30 minutes of chilling time for the ganache to set before slicing.
- → What if I can't find hojicha tea?
You can substitute with other roasted teas or create a similar flavor profile. Chinese roasted oolong or even a strongly brewed English breakfast tea with added roasted barley tea can work. For a non-caffeinated alternative, roasted chicory or dandelion root can provide those warm, toasty notes. The flavor profile will shift slightly but still complement the chocolate and sponge.
- → Why does the sponge cake use the genoise method?
The genoise technique—beating eggs and sugar until thick and pale—creates a light, airy sponge with a delicate crumb structure. This method relies on air incorporated into the eggs for leavening rather than chemical agents. The resulting cake is tender yet sturdy enough to hold layers of buttercream and ganache without collapsing. Folding the flour carefully preserves the airy texture.
- → How do I achieve the perfect ganache consistency?
The key is temperature control. Heat the cream until steaming but not boiling, then pour it over the chopped chocolate and let it sit for two minutes before stirring. This resting period allows the chocolate to melt gradually. Stir gently until smooth and glossy, then let it cool to room temperature before pouring over the cake—if it's too warm, it will slide off; if too cool, it won't drip beautifully down the sides.
- → Can I freeze this cake?
Yes, freeze the assembled cake for up to one month. Wrap it tightly in plastic wrap, then foil, and place in an airtight container. Thaw overnight in the refrigerator before bringing to room temperature for serving. The texture may be slightly denser after freezing but the flavors will remain intact. For best results, freeze the sponge layers separately and assemble with fresh buttercream and ganache after thawing.