 Save to Pinterest
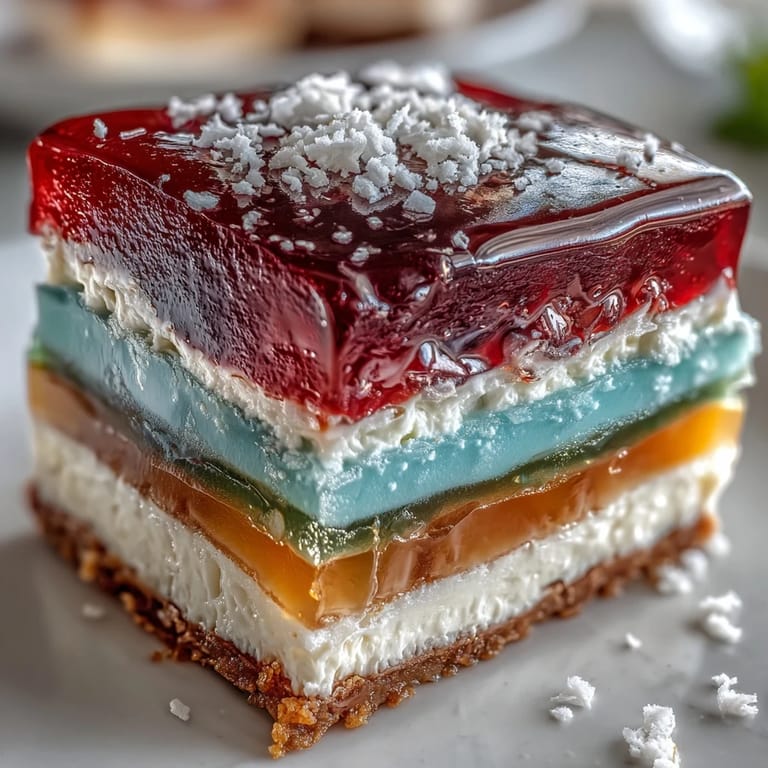
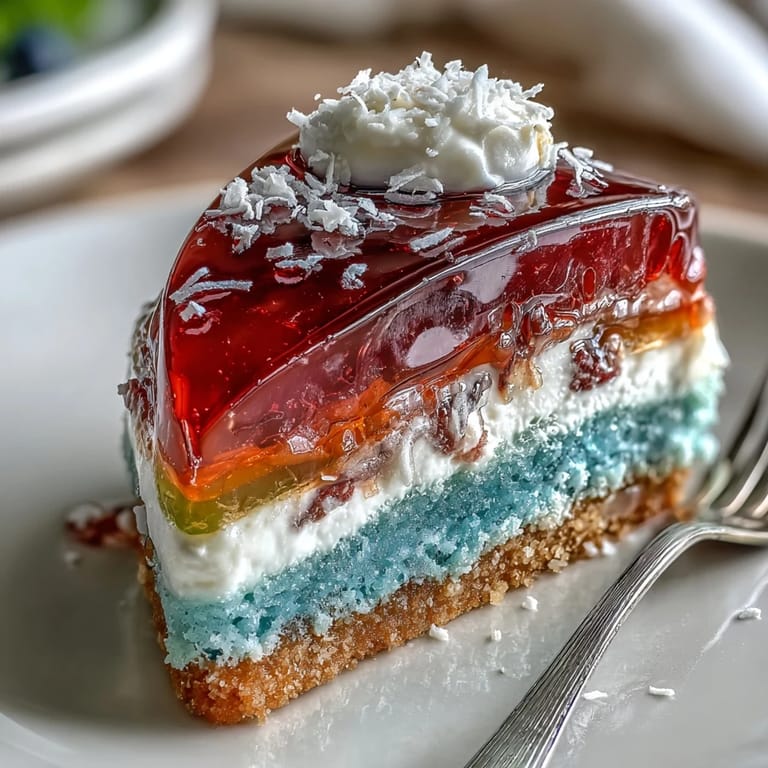
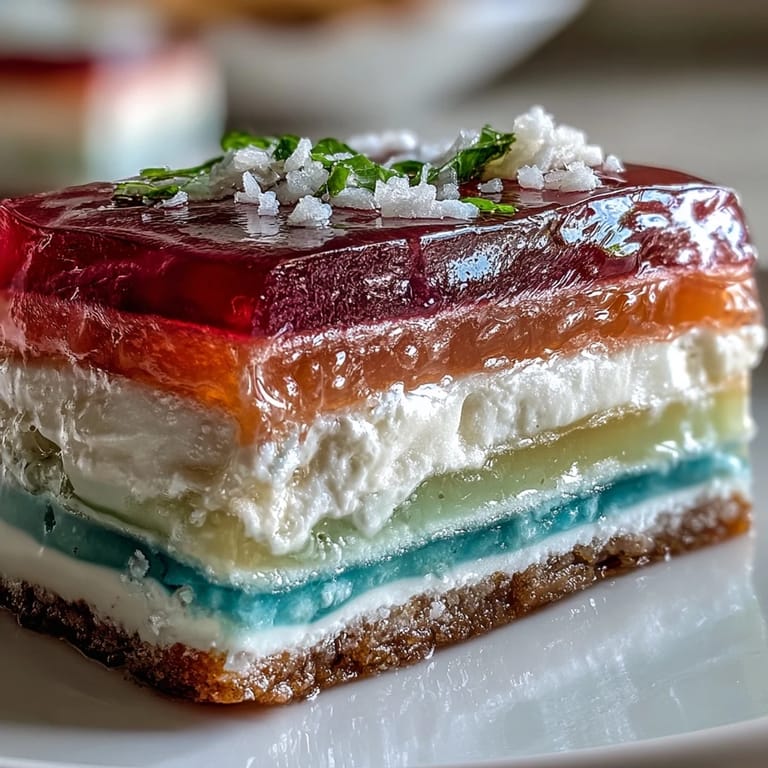
 There was a late afternoon last summer when a beam of sunlight hit my kitchen counter just as I poured the blue layer into its mold: for a moment, the room glittered, and the whole place seemed to slow down. Unlike so many desserts that demand intimidating skills, this Rainbow Jelly Cake feels almost playful, like art class in the kitchen. Watching the spectrum build up one cheerful layer at a time always puts me in a gentle, creative mood. I first made it for a friend's potluck, not knowing it would inspire so much curiosity and plenty of second helpings. Ever since, I have considered it my official sign that the season for sandals and laughter has begun.
One rainy Sunday, my niece and I decided the dreariness outside belonged nowhere near our kitchen, so we lined up little bowls, mixed colors, and created a rainbow while waiting for the storm to pass. I’ll never forget how she quietly pressed her fingertip onto a just-set orange layer, peeking under the surface to check if we could pour the yellow yet. The laughter when we toppled a jelly cube trying to unmold it made the moment sweeter than the dessert itself. The cake became our centerpiece, and chasing the last slippery slice made for the afternoon's best story. Sometimes a bit of kitchen mess brings a lot more joy than flawless results.
Ingredients
- Agar-agar powder (2 tablespoons for each layer): Unbeatable for that perfectly bouncy, clear jelly—just be sure to dissolve it thoroughly or you’ll find stubborn lumps.
- Granulated sugar (200 g for jelly, 100 g for coconut): Balances the subtle earthiness of agar and coco cream with gentle, not cloying, sweetness.
- Water (900 ml for jelly, 200 ml for coconut): Gives the mixture the right consistency—measure it out for easy, even layering.
- Food coloring (red, orange, yellow, green, blue, purple): Transformative and fun to experiment with; a light hand yields translucent jewel tones.
- Vanilla extract (1 teaspoon, optional): Adds a rounded fragrance—skip it if you want the jelly pure and unadorned.
- Coconut cream (400 ml): Turns the last layer into a creamy, tropical cloud—use a brand with rich, smooth texture for best results.
- Salt (pinch): Brings out the natural sweetness and rounds off the coconut layer enough to keep you going back for one more spoonful.
Tired of Takeout? 🥡
Get 10 meals you can make faster than delivery arrives. Seriously.
One email. No spam. Unsubscribe anytime.
Instructions
- Make the Clear Jelly Base:
- Add agar-agar powder into water in a saucepan and stir as the mixture comes to a gentle boil—the faint puffs of steam are your best sign that everything has fully dissolved. Drop in the sugar (and vanilla, if using) and keep whisking until the mixture feels smooth and glossy against your spoon.
- Color the Rainbow:
- Divide the hot jelly base among six bowls; add drops of food coloring to each one, swirling them with a gentle hand to coax out vibrant hues. Sometimes I take a moment to hold each bowl up and admire the light dancing through.
- Layer and Set:
- Pour the red layer into your mold—don't rush, or you'll get bubbles—then wait until it just barely wobbles before adding the next color. Work patiently through orange, yellow, green, blue, and purple, giving each a chance to settle before moving on.
- Coconut Cream Finale:
- Bring agar-agar, water, and coconut cream in a new saucepan to a gentle simmer, watching the white clouds swirl. Add sugar and a pinch of salt; once silky and just warm to the touch, you're ready.
- Assemble the Cake:
- When your final color is set, slowly pour the warm coconut mixture over the rainbow, letting it spread itself gently so layers stay even. Leave to cool for a bit until the heat escapes and the fragrance softens.
- Chill Completely:
- Slide your mold into the fridge and let anticipation build for at least an hour—peek if you must but trust that patience yields the best texture.
- Release and Serve:
- Run a thin offset spatula around the edge and invert onto a flat plate with confidence—the first glimpse of stripes is a reward in itself. Slice with a hot dry knife and serve cold, relishing the gentle thunk as each piece lands on the plate.
 Save to Pinterest
 The first time my family gathered around and watched the last coconut layer settle, there was a hushed anticipation like waiting for fireworks: seeing their faces light up as the cake unmolded remains one of my proudest kitchen moments. Sharing rainbow slices on a stifling summer day made us forget everything else, at least for a little while.
Mastering the Jelly Layer Timing
Figuring out how long to cool each layer took a few tries; I now listen for the soft tap of my spoon and a springy wobble rather than trusting a timer. Sometimes I even stick the mold in front of a fan for a shortcut on especially warm days.
Coloring Tips from Experience
Too much coloring turns the jelly opaque and can muddle the flavors, so I start with the tiniest drop and build up carefully. If using natural plant-based dyes, keep in mind they may set a little faster or slower, so watch closely and adjust as you go.
Serving, Storage, and Make-Ahead Notes
Rainbow Jelly Cake is happiest in the fridge and best sliced with a hot, dry knife for crisp, clean edges. Leftovers taste just as delightful the next day, and I often find that people sneak a piece for breakfast.
- Line your mold with a thin layer of water before pouring in the first jelly layer—it helps with unmolding later.
- Keep a mug of hot water handy for wiping your knife between slices.
- Don't worry if the layers aren't textbook perfect; the joy is all in the color and surprise.
 Save to Pinterest
 Whether you're brightening up a rainy day or kicking off a summer get-together, this cake brings a bit of magic to the table. Here's to every slice promising a splash of color and a burst of cheer.
Recipe Questions & Answers
- → Can I use gelatin instead of agar-agar?
Gelatin and agar set differently: agar yields a firmer, plant-based gel and holds shape at warmer temps, while gelatin gives a softer, wobbly texture. If substituting, reduce quantities and expect changes in texture and setting time.
- → How do I get clean, even layers?
Pour each colored mixture when the previous layer is just set but still slightly tacky. Work with small batches, pour slowly from a low height, and briefly chill the mold between layers to prevent colors from bleeding.
- → What can I use instead of coconut cream?
Full-fat canned coconut milk concentrated by simmering works well. Non-coconut plant creams (cashew or oat) may be thinner—add a touch more agar to achieve the same firm set and taste before committing the entire batch.
- → How can I make natural colors for the jelly?
Use concentrated plant extracts and juices: beet or raspberry for red, carrot for orange, turmeric for yellow, spinach or pandan for green, butterfly pea for blue, and blueberry for purple. Strain purees to avoid solids.
- → How long should the cake chill before serving?
Refrigerate at least 1 hour or until completely firm; thinner layers and smaller molds set faster, while thicker molds may need 1.5–2 hours for best slicing.
- → How should I store leftovers?
Keep covered in the refrigerator for up to 3 days. Store in an airtight container or cover the serving plate tightly to prevent moisture loss and absorption of fridge odors.