 Save to Pinterest
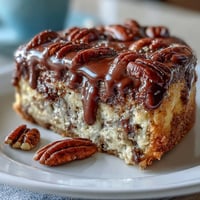
 My mum used to pull this one out whenever someone needed cheering up. It wasn't fancy, but the way that glossy icing caught the light made even a rainy Tuesday feel like an occasion. I've burned it once, overwhipped the eggs twice, and still—every single time—it disappears before I've even cleared the table. There's something about a proper squidgy chocolate cake that just fixes things.
I made this for my sister's birthday last year, and she cried. Not because it was perfect—honestly, I'd cracked the top a bit getting it out of the tin—but because it tasted exactly like the one our gran used to make. Funny how butter, chocolate, and a bit of care can do that. We sat in her kitchen with mugs of tea, eating thick slices straight off our palms, laughing at how neither of us had inherited Gran's patience for neat icing.
Ingredients
- Unsalted butter (200 g for cake, 100 g for icing): Use proper butter, not spread—it makes the crumb tender and the icing glossy without splitting.
- Dark chocolate (200 g for cake, 150 g for icing, minimum 50% cocoa solids): Don't go too high or it'll taste bitter; around 50-60% is the sweet spot for a fudgy, not overly intense, cake.
- Light brown sugar (250 g): Adds a subtle toffee warmth that white sugar just can't match.
- Large eggs (3): Room temperature eggs whisk up fluffier and blend more smoothly into the batter.
- Plain flour (200 g): The backbone of the sponge—don't skip sifting it or you'll get lumps.
- Baking powder (1 ½ tsp): Fresh baking powder is key; if it's been sitting in your cupboard for a year, replace it.
- Fine sea salt (¼ tsp): A pinch sharpens the chocolate flavor instead of making it taste flat.
- Cocoa powder (50 g): Sift this thoroughly or you'll end up with cocoa pockets in the batter.
- Whole milk (150 ml for cake, 3 tbsp for icing): Full-fat milk keeps everything soft and rich; skimmed won't give you the same texture.
- Vanilla extract (1 tsp): Use real extract, not essence—it's worth the extra pence.
- Icing sugar (200 g): Always sift it or your icing will be gritty and sad.
Tired of Takeout? 🥡
Get 10 meals you can make faster than delivery arrives. Seriously.
One email. No spam. Unsubscribe anytime.
Instructions
- Prep your tins:
- Preheat your oven to 180°C (160°C fan) or 350°F. Grease two 20 cm round tins generously with butter, then line the bottoms with baking paper—this stops any sticking disasters.
- Melt the chocolate and butter:
- Set a heatproof bowl over a pan of barely simmering water, add the 200 g butter and 200 g dark chocolate, and stir gently until smooth and glossy. Let it cool for a few minutes so it doesn't scramble the eggs.
- Whisk the eggs and sugar:
- In a large bowl, whisk together the light brown sugar and eggs until pale, thick, and mousse-like—this takes about 3-4 minutes with an electric whisk. It should leave a ribbon trail when you lift the beaters.
- Combine wet ingredients:
- Stir the melted chocolate mixture and vanilla extract into the egg mixture until smooth and completely blended.
- Sift the dry ingredients:
- In a separate bowl, sift the flour, baking powder, salt, and cocoa powder together. Sifting is non-negotiable here—it keeps the batter light.
- Fold and mix:
- Gently fold the dry ingredients into the wet mixture in three additions, alternating with the milk. Stir just until combined; overmixing kills the fluffiness.
- Divide and bake:
- Split the batter evenly between your two tins—I weigh them to be sure. Bake for 30-35 minutes, or until a skewer comes out with a few moist crumbs clinging to it, not wet batter.
- Cool the cakes:
- Let them sit in the tins for 10 minutes to firm up, then turn out onto a wire rack. Patience here prevents crumbling.
- Make the icing:
- Melt 150 g dark chocolate and 100 g butter together over simmering water, then remove from heat. Gradually beat in the sifted icing sugar and 3 tbsp milk until the icing is smooth, silky, and spreadable.
- Assemble the cake:
- Place one cake layer on your serving plate, spread a generous third of the icing over it, then top with the second layer. Use the rest of the icing to cover the top and sides, smoothing with a palette knife or the back of a spoon.
 Save to Pinterest
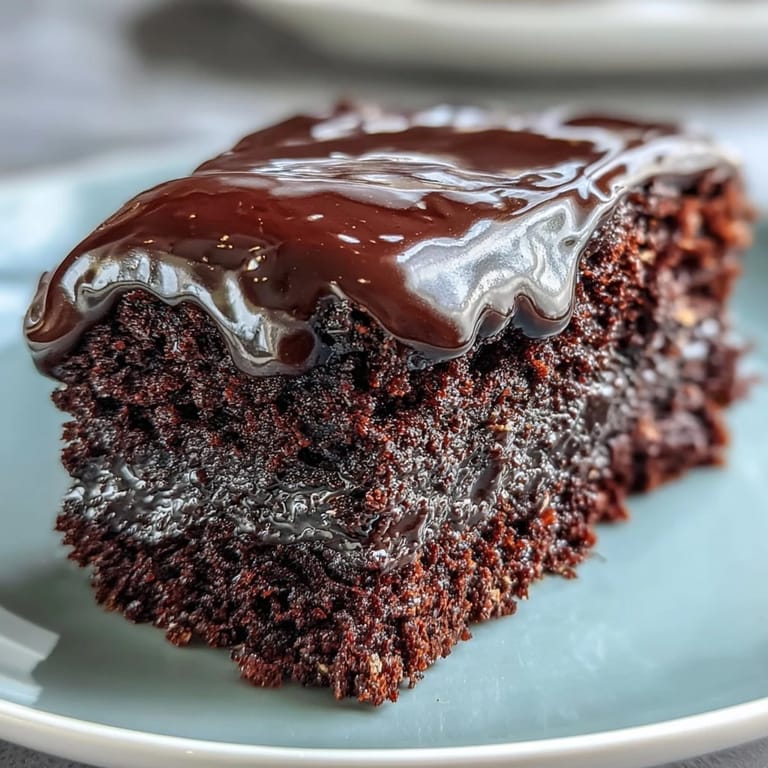
 This cake has become my go-to for every occasion that needs a bit of comfort. I've brought it to book club, baked sales, breakups, and one particularly grim Monday after a friend lost her cat. No one ever asks for the recipe—they just ask when I'm making it again. It's not about being clever in the kitchen; it's about knowing what makes people feel looked after.
Getting the Perfect Texture
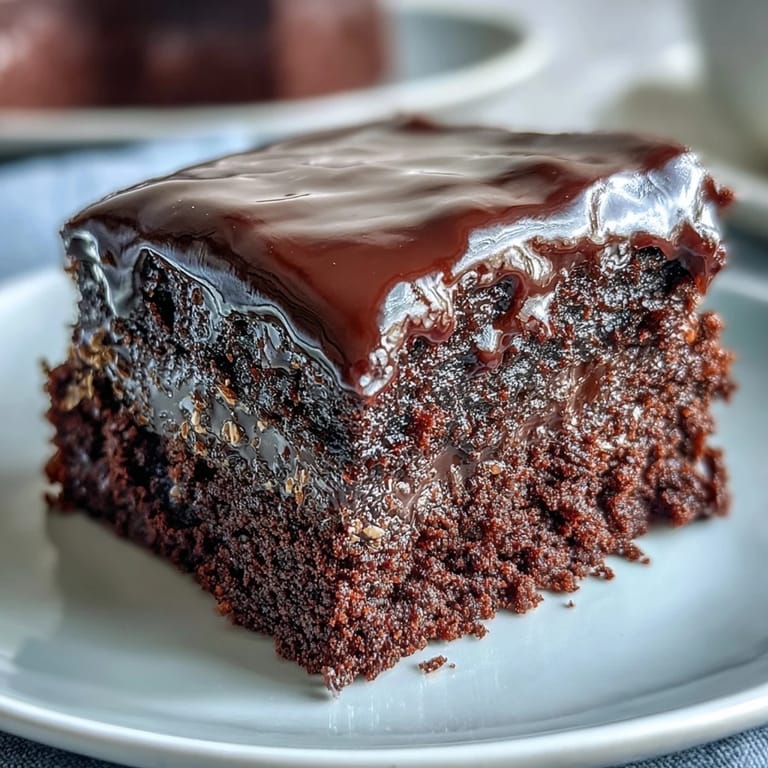
The squidgy center is what makes this cake special, so resist the urge to overbake it. When you test with a skewer, you want moist crumbs, not a clean stick—that's the difference between fudgy and dry. If your oven runs hot, check at 28 minutes. I once left mine in for 40 minutes because I got distracted by a phone call, and it turned into chocolate-flavored cardboard. Trust the skewer, not the clock.
Making It Ahead
This is one of those rare cakes that actually improves after a day. The flavors deepen, the crumb softens, and the icing sets into a beautiful matte finish. I often bake it the night before and ice it the next morning, which takes all the stress out of hosting. Just wrap the cooled layers tightly in cling film and leave them at room temperature—don't refrigerate or they'll dry out. The icing can be made ahead too; just rewarm it gently over simmering water and give it a good stir.
Serving Suggestions and Variations
I love this cake just as it is, but a thin layer of raspberry jam between the layers cuts through the richness beautifully. Fresh berries on top add a pop of color and tartness, and a dollop of whipped cream on the side never goes amiss. If you're feeling fancy, a dusting of cocoa powder or a few chocolate shavings make it look bakery-perfect. My nephew once asked for Smarties on top, and honestly, it wasn't a bad shout.
- Store in an airtight container at room temperature for up to 3 days.
- If you only have one tin, bake in batches and keep the batter covered while the first layer bakes.
- For a boozy twist, brush the layers with a tablespoon of rum or coffee liqueur before icing.
 Save to Pinterest
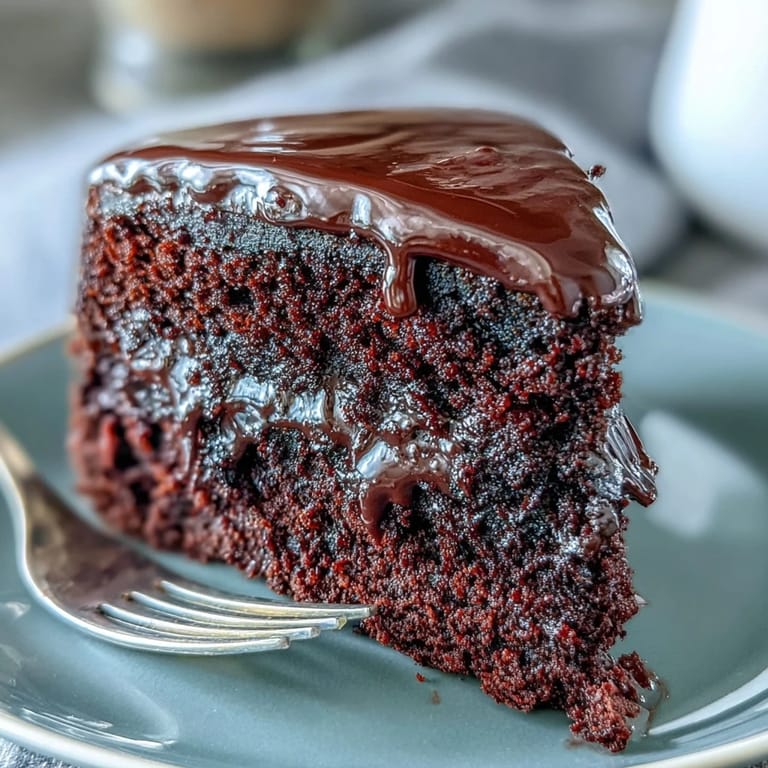
 This cake has never let me down, and I don't think it ever will. Bake it once, and I promise it'll become your answer to every celebration, crisis, or quiet Sunday afternoon.
Recipe Questions & Answers
- → Can I use milk chocolate instead of dark chocolate?
Yes, but the cake will be sweeter and less intense. Dark chocolate with at least 50% cocoa solids provides the best depth of flavor and balances the sweetness.
- → How do I know when the cake is done?
Insert a skewer into the center—it should come out with a few moist crumbs, not wet batter. The cake should also spring back lightly when touched.
- → Can I make this cake in advance?
Absolutely. The cake keeps well in an airtight container for up to 3 days. You can also freeze the unfrosted layers for up to 1 month.
- → Why is my icing too runny?
The icing needs to cool slightly after melting before beating in the icing sugar. If still runny, refrigerate for 10-15 minutes while stirring occasionally until it thickens to spreading consistency.
- → Can I make this in a single large tin instead of two layers?
Yes, use a 23 cm (9-inch) round tin and increase baking time to 45-50 minutes. Check for doneness with a skewer. You can slice horizontally to create layers if desired.
- → What can I serve with this cake?
Whipped cream, fresh berries, or a dusting of icing sugar work beautifully. Raspberry coulis or vanilla ice cream also complement the rich chocolate flavor perfectly.