 Save to Pinterest
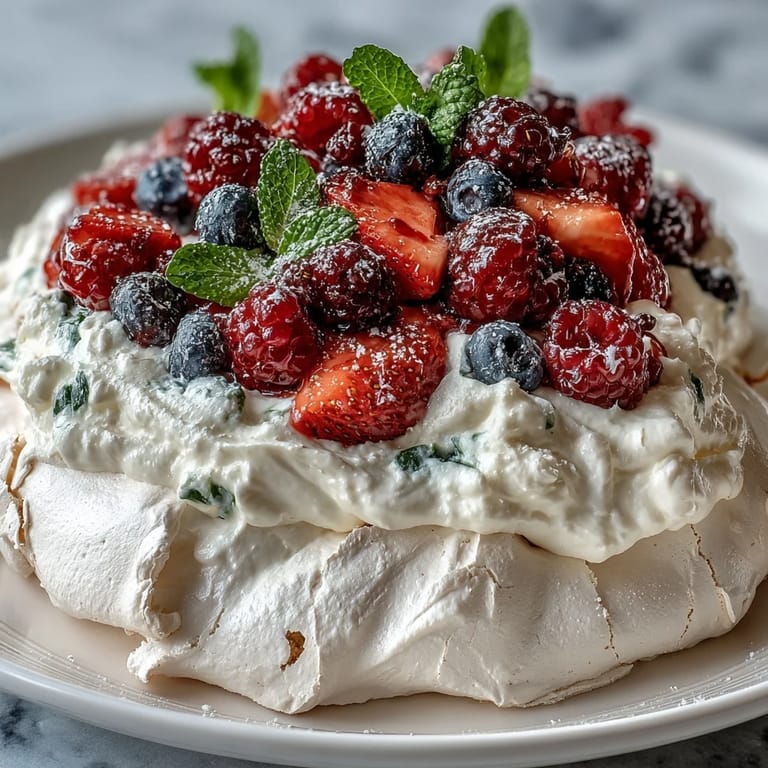
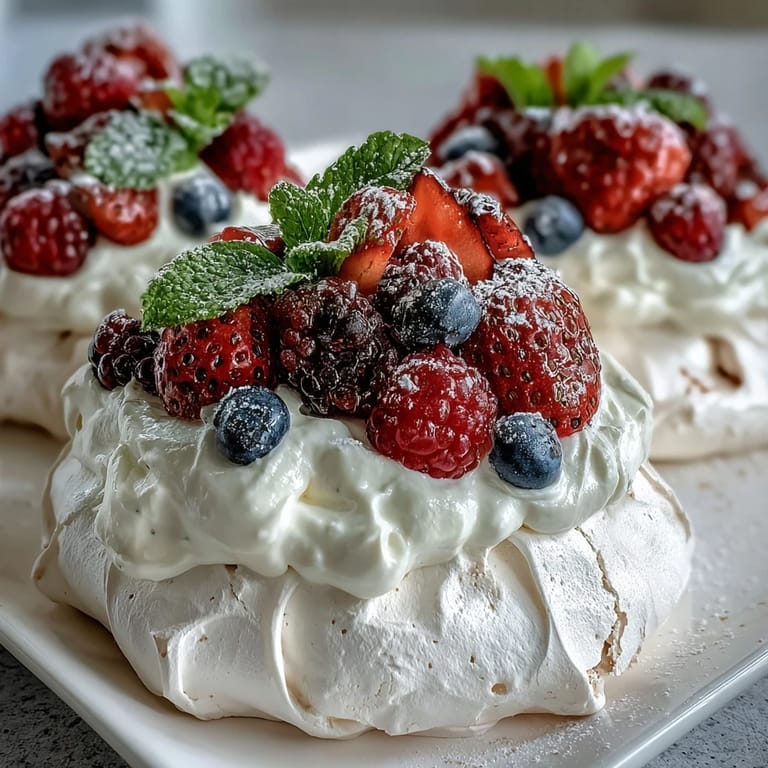
 On a late spring afternoon, the kitchen buzzed with the sound of egg beaters and the air grew sweet with the promise of pavlova. It wasn't planned—more of a whim after spotting cartons of just-picked berries at the market, their colors impossibly vivid. There’s an excitement in the precise whisking and that moment when glossy meringue peaks stand tall, ready to transform into something otherworldly. The crunchy shell and billowy inside hide under a cloud of cream and a tumble of fruit, but making it felt more playful than fussy. To me, pavlova is the dessert equivalent of an unexpected invitation you’re glad you accepted.
I once made this pavlova for friends on a night when the power flickered, candles glowed in jam jars, and we laughed over bowls of messy, berry-stained goodness. There’s something about breaking the meringue together—forks clinking, cream smudged—that shifts people from polite guests to unruly co-conspirators. We ended up scraping the tray for stray bits of crisp shell and sharing stories long past dessert. That memory comes back every time I spoon cream over the meringue’s crackled top. It’s a recipe that never stays too formal for long.
Ingredients
- Egg Whites: Room temperature egg whites whip up to their loftiest volume and give the meringue its signature structure—make sure not a speck of yolk sneaks in.
- Superfine Sugar: This dissolves effortlessly for a silken, crisp finish—if you only have regular sugar, buzz it in a food processor for a minute first.
- Cornstarch: Just a teaspoon makes the interior extra tender and marshmallow-like, not chewy or gritty.
- White Vinegar: Don’t worry, you won’t taste it—it stabilizes the meringue and helps with that dreamy texture.
- Vanilla Extract: A splash rounds out the sweet flavors and warms up the aroma as the meringue bakes.
- Heavy Whipping Cream: Use it cold from the fridge so it whips to luscious, soft clouds without turning buttery.
- Powdered Sugar: Lends smooth sweetness to the cream and dissolves with zero graininess.
- Assorted Fresh Berries: Choose your favorites or whatever’s ripe—strawberries, blueberries, raspberries, and blackberries are all welcome guests.
- Mint Leaves: Totally optional, but the fresh herby pop and pretty green are a joyful finishing touch when you have them.
Tired of Takeout? 🥡
Get 10 meals you can make faster than delivery arrives. Seriously.
One email. No spam. Unsubscribe anytime.
Instructions
- Prep the Stage:
- Turn your oven to 275°F (135°C) and trace a plate or cake pan onto parchment for an 8-inch guide—flip the paper so the line is underneath.
- Whip the Egg Whites:
- With a clean, dry bowl and mixer, start beating the egg whites at medium speed until soft peaks drift upward like slow waves.
- Add Sugar Gradually:
- Sprinkle in the sugar one spoonful at a time, letting each dissolve so the mixture turns sleek, glossy, and thick—watch for stiff, shiny peaks.
- Fold in the Magic:
- Delicately fold in the cornstarch, vinegar, and vanilla with a rubber spatula, circling gently so you don’t lose that crucial airiness.
- Shape the Meringue:
- Mound it inside your traced circle, smoothing the top and shaping edges higher like a shallow nest, imagining where the cream will sit.
- Bake and Cool:
- Slip it into the oven for 1 hour 15 minutes. Turn the oven off and let it cool inside with the door cracked open—a slow, gentle finish that keeps it from collapsing.
- Whip the Cream:
- Pour chilled cream, sifted powdered sugar, and a dash of vanilla into a bowl, and whip to soft, billowy peaks that hold but still droop softly.
- Assemble with Joy:
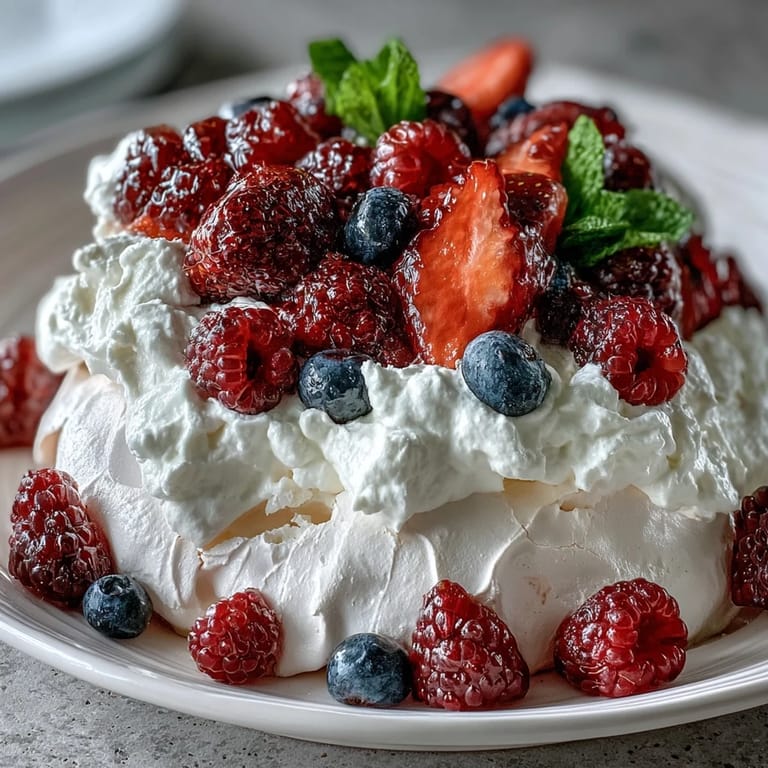
- When the meringue is cool and crisp, lift it onto a platter, crown it with swirls of cream, and then scatter berries by the handful across the top.
- Garnish and Serve:
- Add mint if you like, then carry it straight to the table—this is best devoured immediately, with forks ready.
 Save to Pinterest
 The first time friends teased me into slicing too soon, we ended up with a marshmallowy puddle and shrieks of laughter. Since then, I’ve learned that a little waiting—just long enough for another round of drinks—turns pavlova into the crowning glory of a slow evening.
Choosing Your Best Berries
I always sniff the berries at the store—fragrance means flavor. Mixing raspberries with strawberries, or sneaking in the juiciest blueberries you can find, gives each bite a different pop of sweetness and tartness. If you want to play, try a mix of whatever looks best at the market or swap in peaches and passion fruit when summer takes hold. Berries bruise easily—gently rinse and let them dry on a paper towel to keep the pavlova looking bright and inviting. Don’t be shy about using extra—nobody ever complained about too many berries.
Getting the Perfect Meringue Texture
The secret to meringue magic is scrupulously clean equipment—water or grease can ruin the lift, so I give my bowl a quick swipe with vinegar. When adding sugar, I listen for the graininess to fade; patience leads to that trademark crisp shell. Baking slowly at low temperature dries the outside while the center stays squidgy, which is exactly as it should be. Avoid opening the oven door too early or the meringue might crack. Cool it completely with the door ajar, resisting the urge to peek or poke until it’s ready.
Serving & Storing Pavlova
Once topped, pavlova waits for no one—assemble just before serving so it stays crisp underneath the cream and fruit. If you find yourself with leftovers, I slide the slices onto plates, cover gently, and refrigerate (though it softens, I secretly love it for breakfast). The base can be made a day ahead and kept uncovered in a dry spot—kitchen humidity is its mortal enemy.
- Make sure the meringue is fully cool before topping—warmth will melt the cream.
- Pavlova should be eaten right after assembling for peak texture.
- Save any extra berries for yogurt or porridge the next morning.
 Save to Pinterest
 I hope this pavlova helps you capture a little lightness at your next gathering, planned or spontaneous. When dessert disappears in a flurry of laughter and red-stained fingers, you’ll know you did it right.
Recipe Questions & Answers
- → Can I use other fruits besides berries?
Yes, you can top the pavlova with kiwi, peaches, or any seasonal fruit of your choice for variety.
- → Why is it important to use room temperature egg whites?
Room temperature egg whites whip more easily and achieve greater volume, resulting in better meringue texture.
- → How do I prevent the meringue from cracking?
Allow the meringue to cool slowly in the oven with the door ajar. Rapid temperature changes can cause cracks.
- → Is this dessert gluten-free?
Yes, it contains only egg whites, sugar, cornstarch, and cream, making it suitable for gluten-free diets.
- → Can I make the meringue ahead of time?
You can bake the meringue a day early and store it in an airtight container. Assemble with cream and berries just before serving.
- → What pairs well with this dish?
A light sparkling wine like Moscato d'Asti or Champagne complements the airy texture and fruit flavors beautifully.