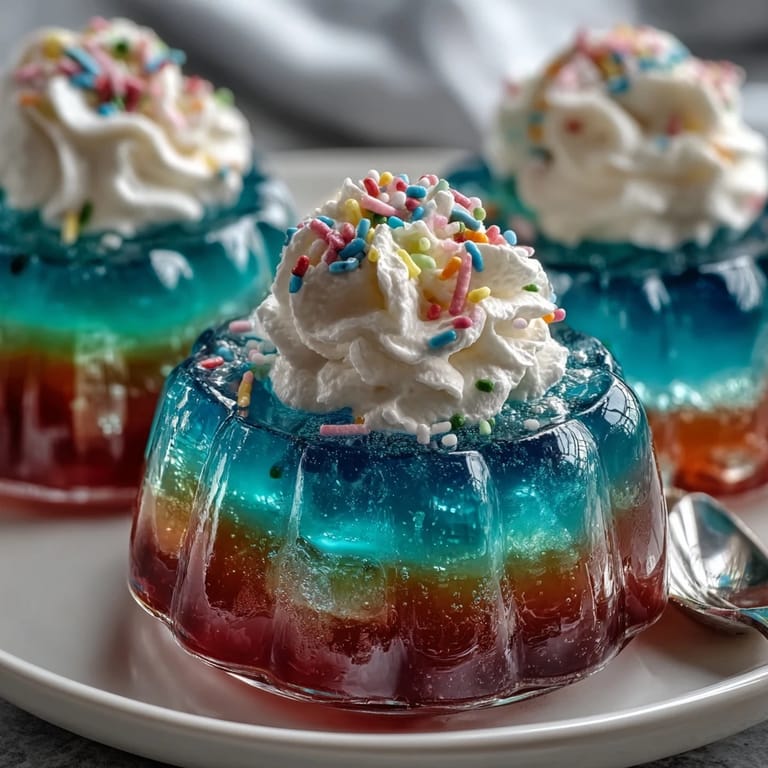
 Save to Pinterest
 The rainbow shimmers most in the kitchen when I'm assembling these Jello cups, each layer a memory in technicolor. Somewhere between the way the light catches the blue and the fizzy sizzle as the water hits powdered crystals, I find myself humming whatever song was last in my head. The first time I made them, I underestimated the patience required—mostly because I was sneaking tastes after every stage and giggling when my fingertips turned bright red. You don’t need a celebration to make these, but somehow, they create one on their own. All you need is a free afternoon and a bit of playful spirit.
There was this one rainy weekend when my niece and nephew camped out in my living room, and we decided each of us could choose a Jello color to represent us. Their intense debating over which color was the “luckiest” still cracks me up, especially when they both decided blue is obviously the best, unless it’s lime.
Ingredients
- Strawberry (red) Jello: Adds a bright, sweet layer—stir well to fully dissolve and avoid clumpy patches.
- Orange Jello: Brings citrus punch; pouring slowly helps prevent wobbling other set layers.
- Lemon (yellow) Jello: Offers a tart contrast; chill your cups between layers so the colors stay sharp.
- Lime (green) Jello: My go-to for a retro vibe, and the color really pops next to yellow.
- Berry blue Jello: Kids' instant favorite for its electric shade; let it cool slightly before pouring to avoid mixing colors.
- Grape (purple) Jello: The deepest base—starting with purple anchors the rainbow beautifully.
- Boiling water: Dissolves the powders completely for glass-clear layers.
- Cold water: Essential for quick cooling and firm setting.
- Whipped cream or topping: Softens the look and adds a cloud-like finish—chilled metal bowl yields fluffiest results.
- Rainbow sprinkles (optional): Transform the finished cup into a confetti-topped party—tiny hands love to help with this step.
Tired of Takeout? 🥡
Get 10 meals you can make faster than delivery arrives. Seriously.
One email. No spam. Unsubscribe anytime.
Instructions
- Mix the base color:
- Dissolve your first Jello flavor (start with purple or grape) by stirring it with 1 cup boiling water until the grains disappear and the smell of grape fills the air.
- Cool and set:
- Stir in 1 cup cold water, then pour a thin, even layer into each clear cup—try not to drip on the sides for tidy stripes.
- Chill and repeat:
- Refrigerate the cups for 30–40 minutes until set but not too firm, then repeat the process for each remaining color: blue, green, yellow, orange, and finally, red.
- Add whipped topping:
- Once all layers are chilled and solid, swirl on a generous puff of whipped cream, letting it spill just over the rim for effect.
- Decorate:
- Sprinkle rainbow confetti or any fun toppings, and serve cold—watching the layers catch the light is half the fun.
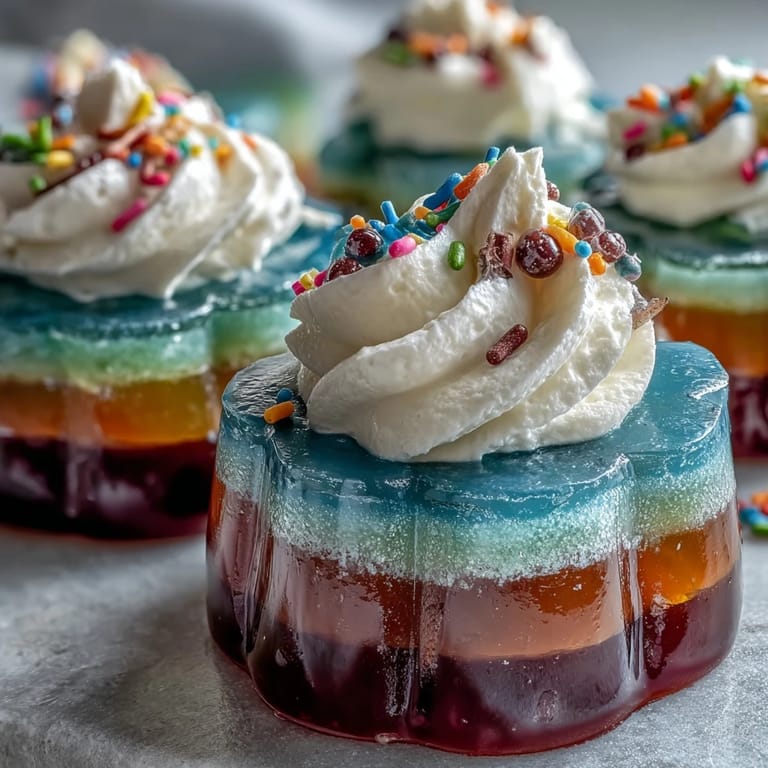 Save to Pinterest
 I’ll never forget the day my friend’s daughter insisted on placing the sprinkles herself, meticulously counting them before proudly serving everyone her masterpiece—turns out these cups make even the youngest chef beam with pride.
Getting the Layers Just Right
Letting each Jello layer set up fully is the ultimate secret—peek at the side of your cup and gently tap to check firmness. Pouring too soon blends colors, while waiting too long makes the next layer slide around, so timing matters more than you'd think.
Making It Ahead for Parties
I’ve learned it’s totally safe to assemble these the night before; just hold off on the whipped cream until serving so it doesn’t melt. Covered in the fridge, the colors actually get a little bolder and more defined by morning.
Swaps, Tricks, and Little Surprises
If you’re out of a flavor, swapping in a different fruity Jello works fine—the point is to get a cheerful stack of vivid layers. Sugar-free and vegan options work just as well, and sometimes I sneak a drop of lemon juice for extra zing.
- Add fruit chunks to a couple of layers for pop and texture.
- Use mini cups for a tiny-hands friendly party treat.
- Remember: enthusiasm is the real secret ingredient here.
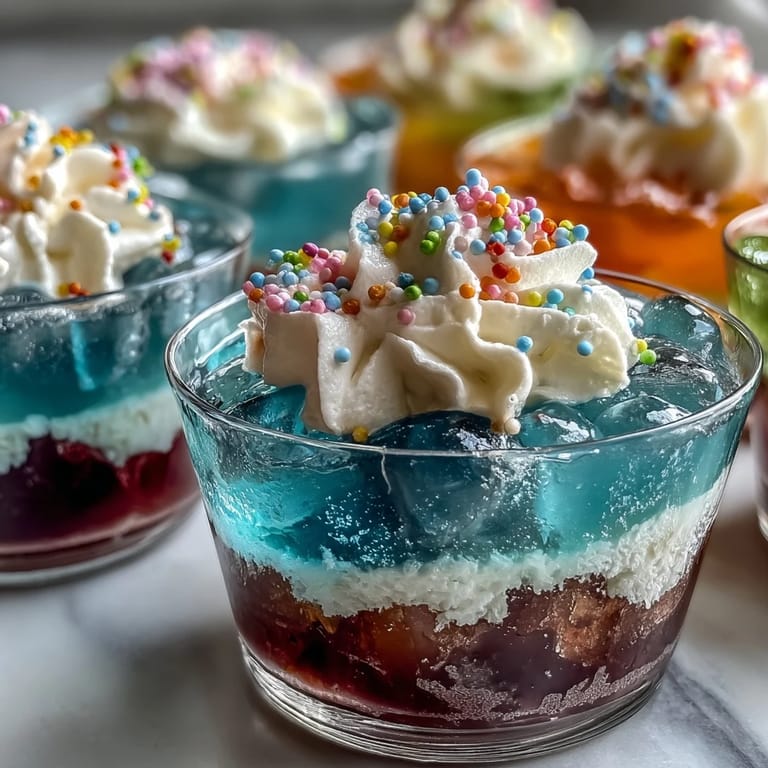 Save to Pinterest
 May every spoonful of these rainbow Jello cups bring a burst of joy—and may you find as much delight making them as sharing them. Enjoy the smiles as much as the colors.
Recipe Questions & Answers
- → How do I achieve neat, separate layers?
Allow each Jello layer to fully set (about 30-40 minutes) before pouring the next one to keep layers defined and vibrant.
- → Can I use different flavors or colors?
Yes, you can substitute or rearrange flavors or colors to suit personal preference, holidays, or themed events.
- → Is there a way to make these dairy-free?
Use coconut whipped cream or another non-dairy topping for a completely dairy-free dessert.
- → How far in advance can I prepare these?
You can assemble and chill the cups up to a day ahead. Add whipped topping and sprinkles just before serving.
- → Can I make a lighter version?
Opt for sugar-free gelatin mixes and light whipped topping for a lower-sugar, lighter option without sacrificing color.