 Save to Pinterest
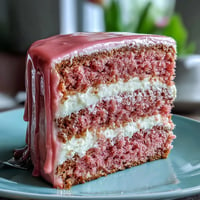
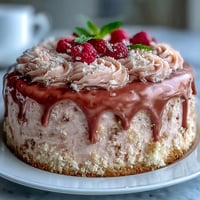
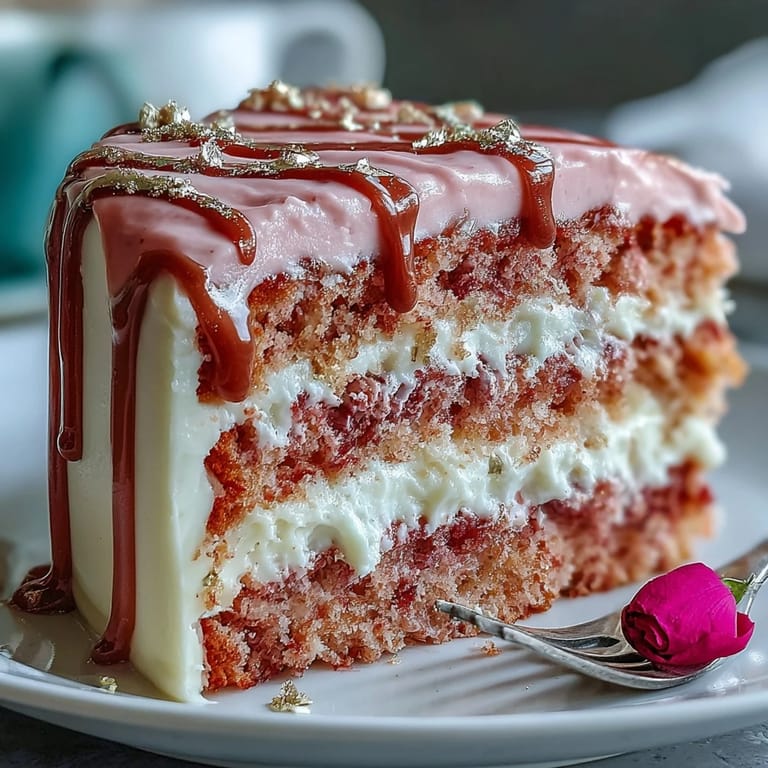
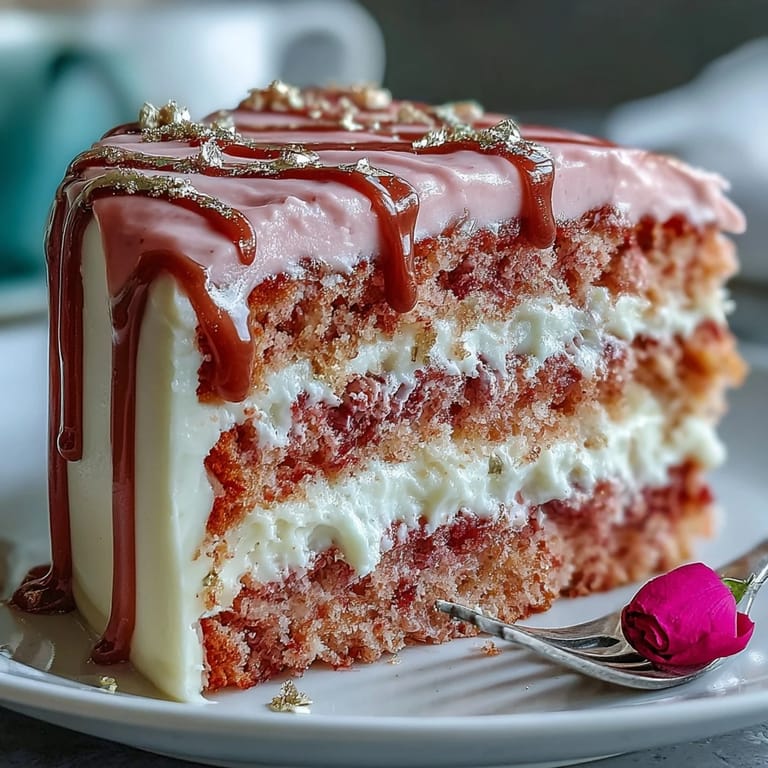
 The unmistakable sound of laughter filling my kitchen was the backdrop to my first attempt at this Rosé Velvet Cake. I hadn't planned for it to become a celebratory centerpiece, but when I caught the delicate scent of rosé floating above the pink velvet crumb, something told me I was onto something brilliant. There's a quiet thrill in watching cake batter transform from pale beige to the perfect shade of pink with just a drop or two of gel food coloring. The shine of the gold drip felt almost theatrical—like dressing up a cake for its own party. It's the kind of cake that gets people gathered around in anticipation, ready for that first sparkling slice.
The first time I made this was the night before my friend's bridal shower as late-spring rain danced softly against the windows. I worked by lamplight, giggling with my sister as we debated just how pink was 'bridal shower perfect.' Frosting the cake together became its own kind of celebration. When that final swipe of buttercream smoothed into place, we clinked our spatulas in triumph and stole a taste of the gold drip. It's a memory forever gilded by edible shimmer and whispers of rosé.
Ingredients
- All-purpose flour: Sifting first keeps the crumb extra light, and it's forgiving even if you slightly overmix.
- Granulated sugar: Sweetness balances the tart hint from the rosé—I found less doesn't quite cut it.
- Baking soda: Activate with vinegar to help the cake rise perfectly (don't skip this or you'll have a dense base).
- Fine salt: A small pinch unlocks the flavors of both the chocolate and the wine.
- Cocoa powder (unsweetened): Just a touch deepens pink tones and adds subtle complexity—use sifted for avoiding lumps.
- Vegetable oil: Keeps the cake super moist and tender even after a day or two in the fridge.
- Large eggs (room temperature): Incorporate best at room temp, helping with a smoother batter.
- Buttermilk: Adds needed tang and moisture; let it sit out to remove the chill.
- Rosé wine: A fruity, not-too-sweet rosé perfumes the cake without overpowering it.
- Vanilla extract: It rounds out the wine notes—always measure but don't be shy.
- White vinegar: Key for that gentle lift, use the full amount.
- Pink or rose gel food coloring: Start small, stir well—color intensifies as it bakes.
- Unsalted butter: Room temperature is a must for cloud-light buttercream.
- Powdered sugar: Sift first for no lumps—I learned this after my first sugary snowstorm.
- Rosé wine (for buttercream): Add a little at a time to avoid thinning the frosting too much.
- Salt (for buttercream): A pinch balances all the sweetness, don't skip it.
- White chocolate chips: Melt gently; even a few seconds too long and it can seize.
- Heavy cream: Gives the drip just the right texture so it slides not runs.
- Edible gold luster dust: Transforms simple drips into glam decorations—completely edible is key.
- Vodka or clear lemon extract: Use to make the gold luster paint, and it evaporates quickly so the shine stays put.
Tired of Takeout? 🥡
Get 10 meals you can make faster than delivery arrives. Seriously.
One email. No spam. Unsubscribe anytime.
Instructions
- Set the stage:
- Preheat to 350°F and line your pans with parchment, letting the anticipation build as you organize your mise en place.
- Sift and combine:
- Sift flour, sugar, baking soda, salt, and cocoa—let the dry ingredients cascade like soft snow, mixing just enough to marry the flavors.
- Mix the wet:
- Whisk together oil, eggs, buttermilk, rosé, vanilla, and vinegar; the batter gives off the faintest winy aroma that promises something different.
- Batter up:
- Fold wet into dry with a gentle hand, stopping as soon as you see no streaks; swirl in your pink coloring until blushingly perfect.
- Bake the layers:
- Divide batter among pans and slide into the oven—the cakes puff as they bake, their tops just firming under your touch after 30 minutes.
- Cool for calm:
- Let cakes cool in their pans, then unfold onto racks; the hardest part is resisting the urge to decorate too soon.
- Whip up buttercream:
- Cream butter until it almost sings, gradually blending in sifted sugar before splashing in rosé and vanilla for lift.
- Assemble the beauty:
- Trim, fill, and stack your layers, adding a crumb coat for tidy sides; after a chill, smooth on the final swirl of buttercream.
- Prepare the gold drip:
- Melt white chocolate with cream, stirring just until shiny and smooth; let it cool, then get your gold paint ready.
- Drip and dazzle:
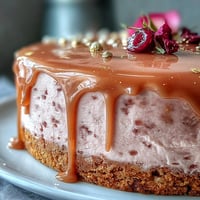
- Gently spoon chocolate around the cake's edge and nudge it over with a spatula for cascading drips; once set, sweep on the golden luster with a steady hand.
- Finishing touches:
- Scatter edible gold, rose petals, or berries—take a step back, then admire the shimmer of your cake under the light.
 Save to Pinterest
  Save to Pinterest
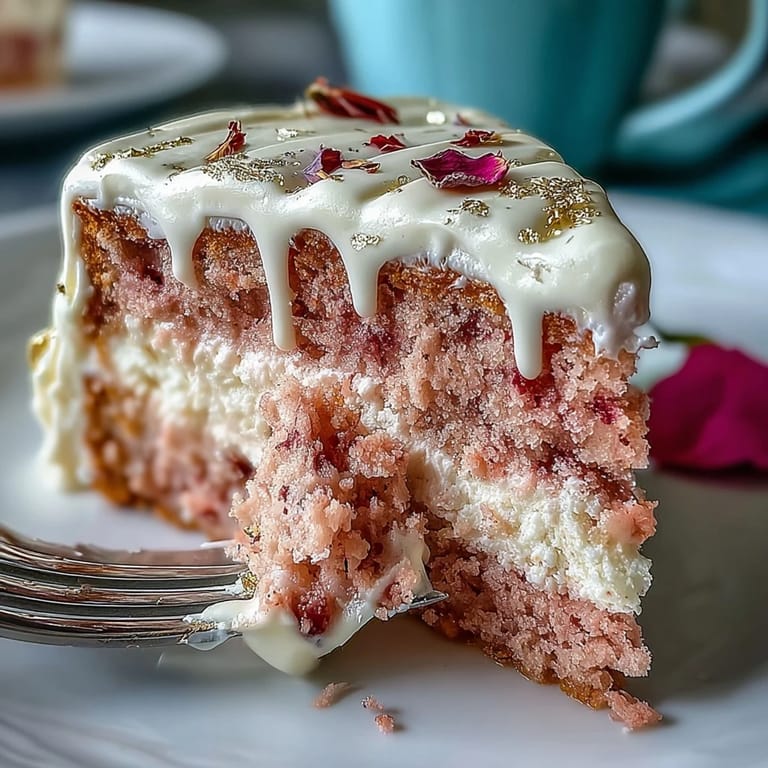
 Watching the bride's face light up as she saw her cake—rosé blushing, gold glimmering—made every dish and dusting worth it. The busy hum of the party faded for a moment as everyone admired the slice on their plates, somehow making the day extra unforgettable.
Decorating Tips for That Golden Touch
I used to fear the gold luster dust, thinking it would be tricky or overly fussy, but it's surprisingly forgiving. Mixing just a teaspoon of vodka with the dust creates a metallic paint that dries in seconds, and letting the drips set fully before painting ensures a crisp finish. You don't need pro tools—even a small food-safe craft brush does the trick. The shimmer looks especially stunning in natural daylight, so consider serving when the sun is high. Don't forget to tidy up stray gold with a dry brush before presenting.
Getting the Perfect Shade of Pink
After one fluorescent disaster, I learned to add gel coloring with a toothpick and stir gently, checking the color in natural light. The right shade is soft and romantic but still cheerful, a balance that comes with incremental mixing. If you go too far, stir in a bit of white icing to calm it down. The batter deepens in color as it bakes, so aim for a smidge lighter than your ideal. It always sparks a little crowd around the mixing bowl—everyone wants to weigh in on "just the right pink."
Keeping Cake Layers Moist (and Stress-Free)
Cakes can be baked a day ahead and wrapped in plastic to preserve moisture (the fridge actually helps prevent drying out if you're worried). Frosting while the cake is still slightly chilled means fewer crumbs and sharper sides, as I discovered after a first rush job. Slip a bit of parchment under your cake during decorating to catch stray drips and crumbs, making for easy cleanup. Cake boards lend support when stacking, especially if you're transporting to an event.
- If the gold paint thickens, add a drop more vodka to loosen it.
- Room temperature butter makes all the difference in buttercream texture.
- Always double-check your luster dust is edible, not just decorative.
 Save to Pinterest
  Save to Pinterest
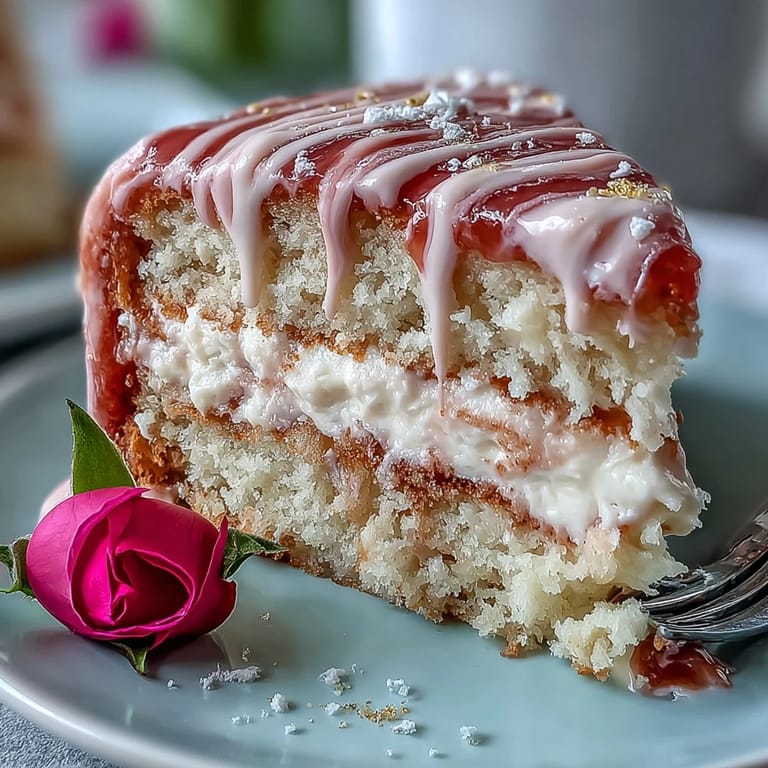
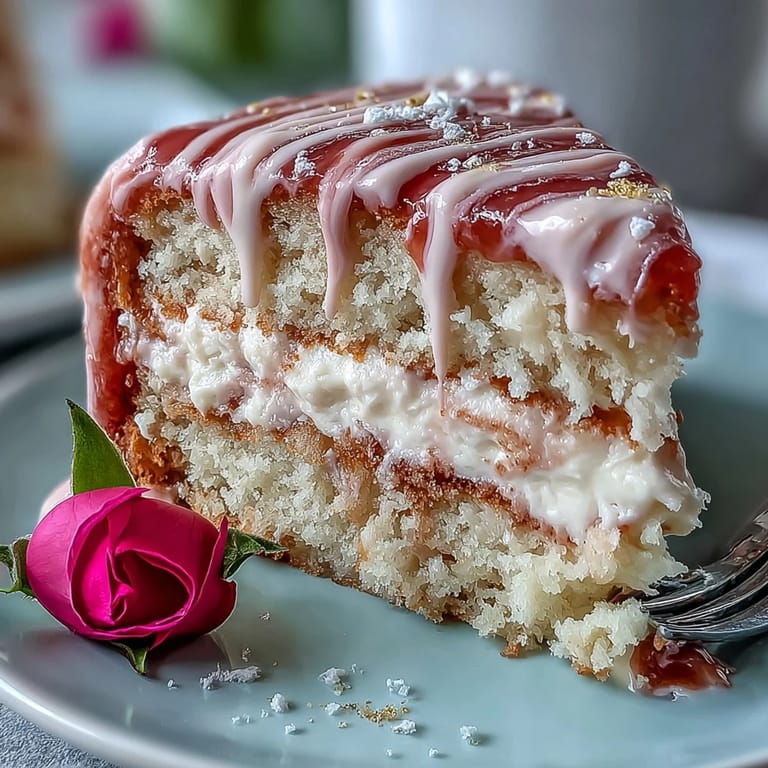
 This cake brings friends together as much as it impresses—pink crumbs and gold sparkles linger in the memory long after the plates are clean. I hope your celebration feels every bit as bright and delicious.
Recipe Questions & Answers
- → Can I use sparkling rosé instead of still rosé?
Yes. Sparkling rosé adds a brighter, slightly effervescent floral note; reduce liquid slightly if batter becomes too loose. Both dry and off-dry styles work well for flavor balance.
- → How do I keep the buttercream stable when filling and icing?
Beat butter until very light, add powdered sugar gradually, and chill the buttercream briefly between steps. A chilled crumb coat and short refrigeration helps maintain structure during final smoothing.
- → What’s the best way to get even layer heights?
Weigh the batter and divide evenly between pans, or use a measuring cup to distribute. Level baked layers with a serrated knife or cake leveler once fully cooled for uniform stacking.
- → How do I make a smooth gold drip without streaks?
Cool the white-chocolate drip slightly so it’s still pourable but not hot, then gently nudge it over the edge for controlled drips. Paint on edible gold luster dust mixed with a clear spirit or extract after the drip has set for a bright finish.
- → Can I prepare elements ahead of time?
Yes. Layers can be made a day ahead and refrigerated, and buttercream keeps well chilled. Assemble and decorate within 24 hours for best texture; bring to room temperature before serving.
- → Any tips for achieving an even pink hue?
Use gel food coloring for concentrated color without thinning the batter. Start with a small amount and add until you reach the desired rosy shade; color deepens slightly during baking.